This post may contain affiliate links, which means we may earn a small commission if you make a purchase through our links, at no extra cost to you. This helps us keep creating great content. Thank you for your support!
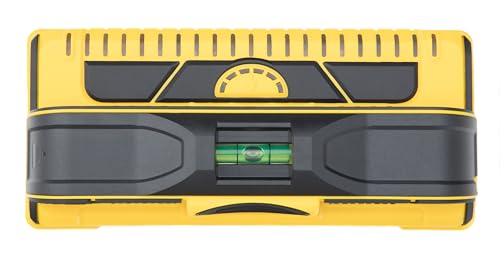
Pro Stud Finder
- High accuracy detection
- Easy to read display
- Ergonomic grip
Floating shelves are one of the most versatile and space-efficient storage solutions for modern homes. Whether you're looking to display books, plants, or decorative objects, proper installation ensures both safety and aesthetic appeal. In this guide, we'll walk you through the installation process and help you choose the right shelves for your space.

Self-Leveling Laser Level
- Self-leveling mode
- High visibility green laser
- Compact and portable
Comparison: Which Floating Shelf Type Is Right for You?
Not all floating shelves are created equal. Choosing the right type depends on your wall structure and what you plan to display.
- Hidden Bracket Shelves: Best for a clean, modern look. Ideal for lighter items like photos and small plants. Requires drilling into studs for maximum support.
- Exposed Bracket Shelves: Adds an industrial or rustic touch. Generally supports more weight and is easier to install since brackets can be mounted anywhere along the shelf.
- French Cleat Shelves: The strongest option for heavy loads. Uses an interlocking wedge system that distributes weight evenly across the wall. Perfect for heavy books or kitchenware.
Essential Tools for Professional Installation
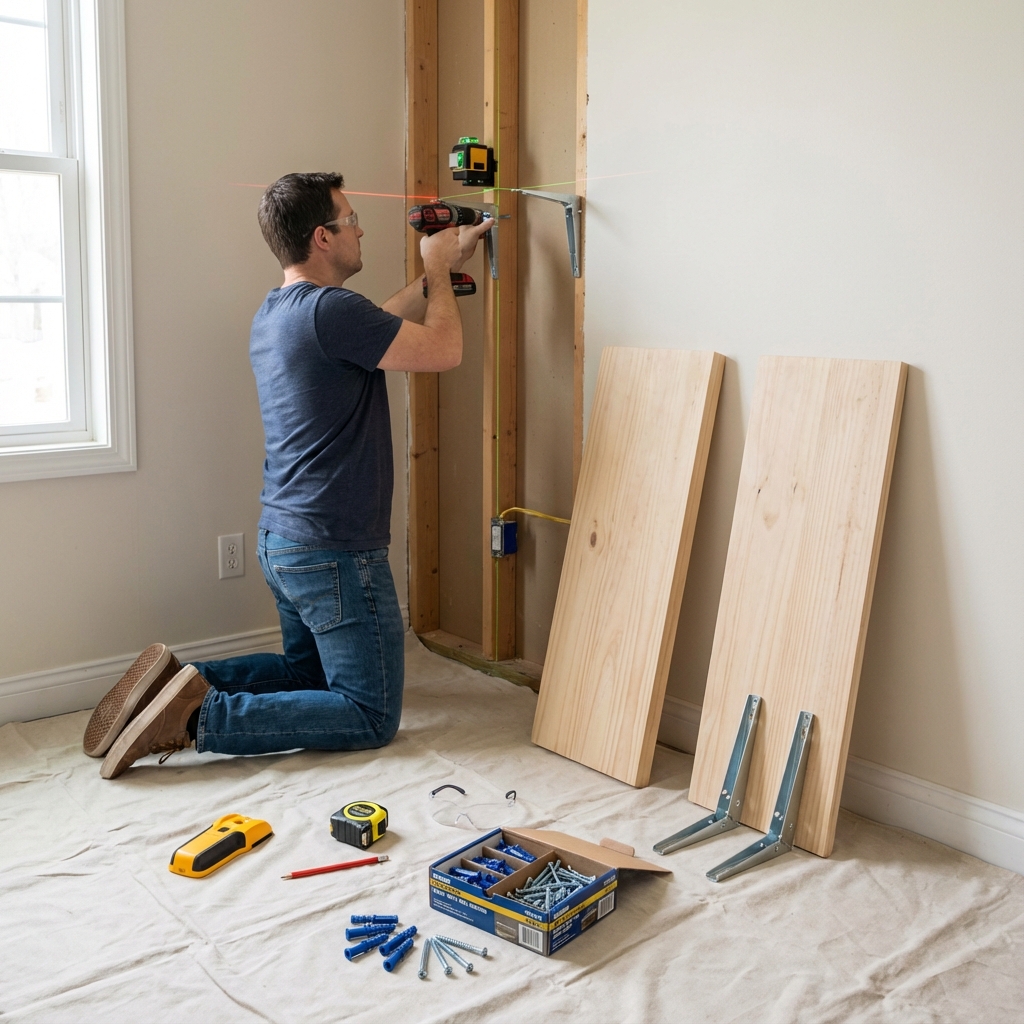
To achieve a level, secure installation, you'll need the right tools. Don't rely on guesswork—precision is key.

Fixwal Floating Shelves for Wall
- Set of 5 rustic wood floating shelves
- Perfect for corners and small spaces
- Easy wall mounting installation
- Versatile for multiple rooms
- Franklin Sensors ProSensor M150: Essential for locating secure mounting points behind drywall.
- BOSCH GLL50-20 Laser Level: Ensures your shelves are perfectly horizontal without the struggle of a bubble level.
- YUMORE Heavy-Duty Brackets: If building your own, these steel brackets provide invisible support for heavy loads.
Step-by-Step Installation Guide
Follow these steps for a sturdy, professional-looking installation:
- Locate Wall Studs: Use your stud finder to mark the center of the studs where you want your shelves. Mounting into studs is crucial for weight capacity.
- Mark Your Layout: Use a laser level to project a straight line across the studs. Mark your drill holes on this line.
- Drill Pilot Holes: Drill small pilot holes into the studs to prevent the wood from splitting when you drive in the screws.
- Install the Bracket: Secure the floating shelf bracket to the wall using heavy-duty screws. Ensure it is level before fully tightening.
- Slide on the Shelf: Slide the shelf body onto the bracket rods. If it's a tight fit, tap it gently with a rubber mallet.
- Secure the Shelf: Most systems have small set screws underneath to lock the shelf to the bracket. Tighten these to prevent the shelf from sliding off.
Styling Your New Shelves
Once installed, style your shelves using the rule of thirds. Combine books, Ballucci Rustic Wood Shelves look great with greenery. Mix textures by adding decorative storage baskets and plants for visual interest. Clear acrylic stands can elevate special books or objects for dramatic display.
Self-Leveling Laser Level
- Self-leveling mode
- High visibility green laser
- Compact and portable
Fixwal Floating Shelves for Wall
- Set of 5 rustic wood floating shelves
- Perfect for corners and small spaces
- Easy wall mounting installation
- Versatile for multiple rooms